Course
Building AI Agents with Google ADK
1 hr
6.6K
Open-source AI is making waves again: Moonshot AI recently released Kimi K2, a Mixture-of-Experts (MoE) language model with 32 billion activated parameters and one trillion total parameters.
In this blog, I’ll explain what Kimi K2 is, how to access it, and I’ll guide you through practical use cases of Kimi K2. We'll explore how Kimi K2 can:
We keep our readers updated on the latest in AI by sending out The Median, our free Friday newsletter that breaks down the week’s key stories. Subscribe and stay sharp in just a few minutes a week:
Kimi K2 is a language model designed by Moonshot AI, featuring 32 billion activated parameters within an extensive framework of 1 trillion total parameters. Kimi K2 is optimized for agentic tasks. It’s built to act, execute, and reason through complex, tool-driven tasks. As of the end of January 2026, there is a new model, Kimi K2.5.
Kimi K2 arrives in two forms:
Kimi K2 shows promising benchmark results, especially in agentic coding and tool use:
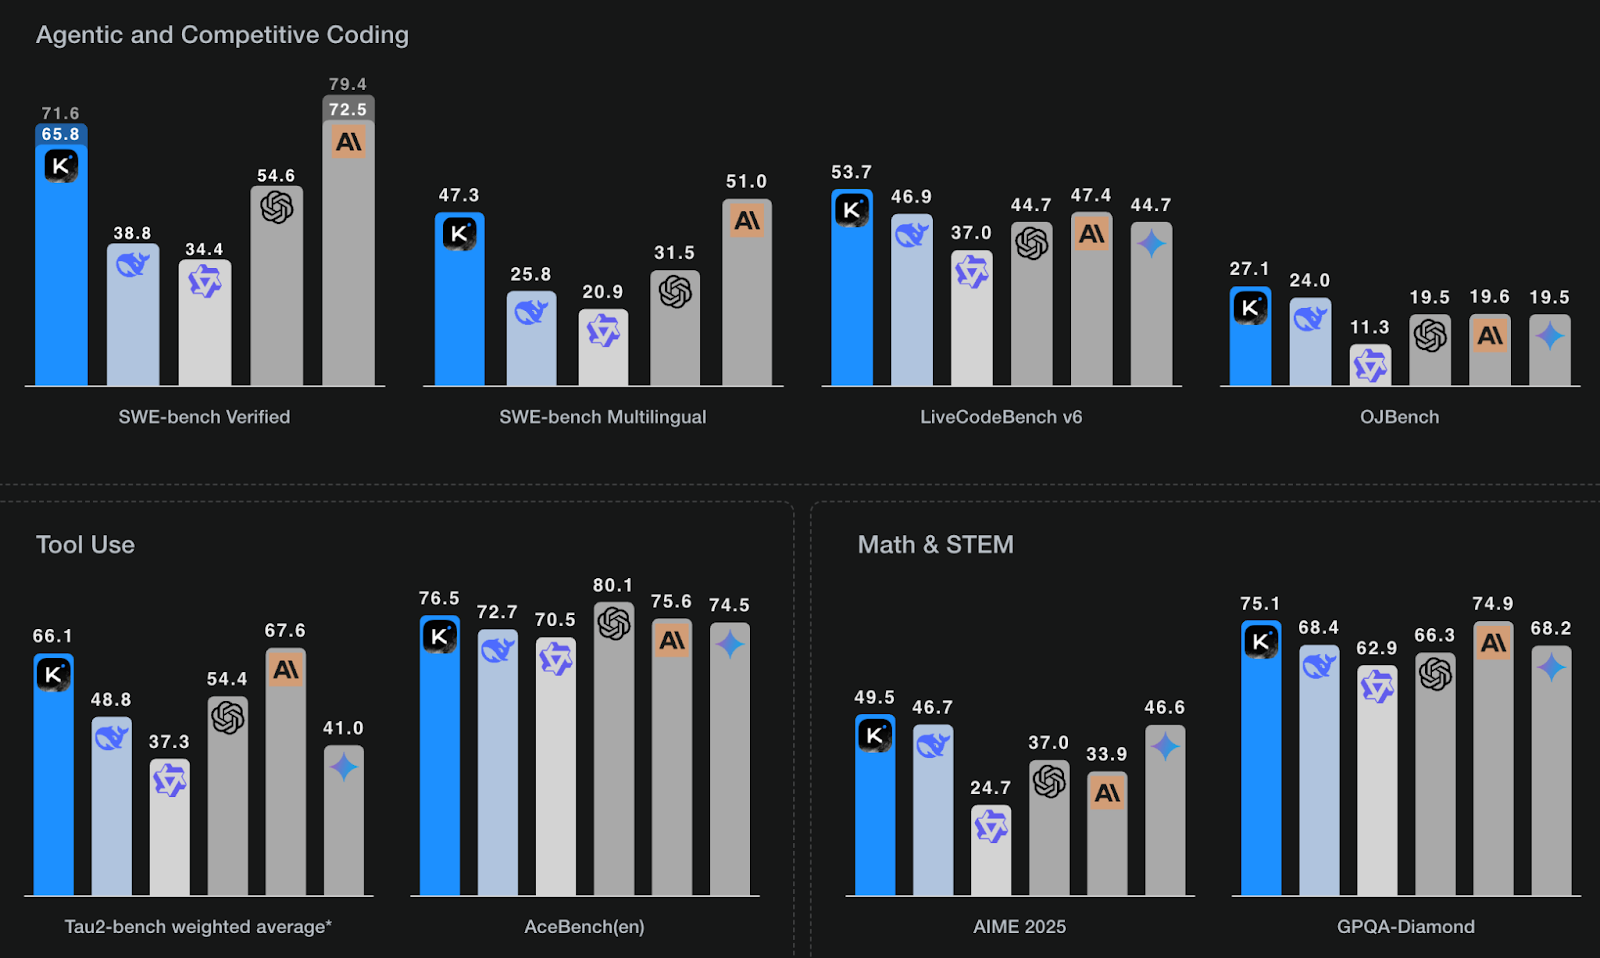
Source: Kimi K2
Compared to its open-source counterparts like DeepSeek V3, Qwen 2.5, and LLaMA 4, Kimi K2 often performs better on benchmarks but may require careful prompt engineering to achieve optimal results in practice, typically through iterative refinement. It has even been informally described as “DeepSeek V3 with fewer heads and more experts,” given its expert-routing MoE architecture.
While the API infrastructure is still maturing and the documentation could benefit from greater clarity, Kimi K2 stands out as one of the most affordable options currently available. It’s well-suited for experienced developers familiar with LLM-based workflows, though beginners may face a steeper learning curve.
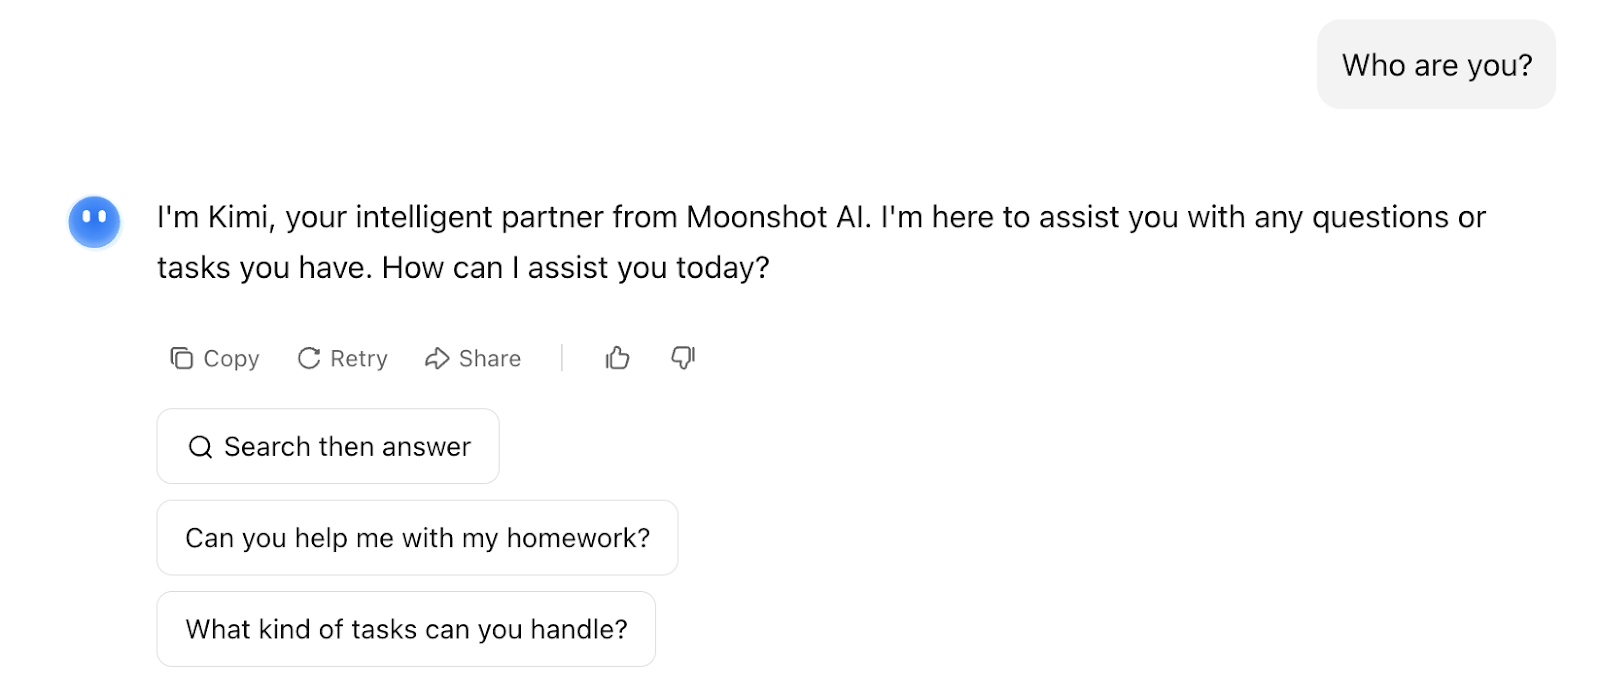
You can access Kimi K2 through the chat interface and the API.
You can access Kimi K2 via the Kimi Chat interface:
Next, I’ll explain how to set up Kimi K2 via API step by step, so feel free to jump directly to the examples section.
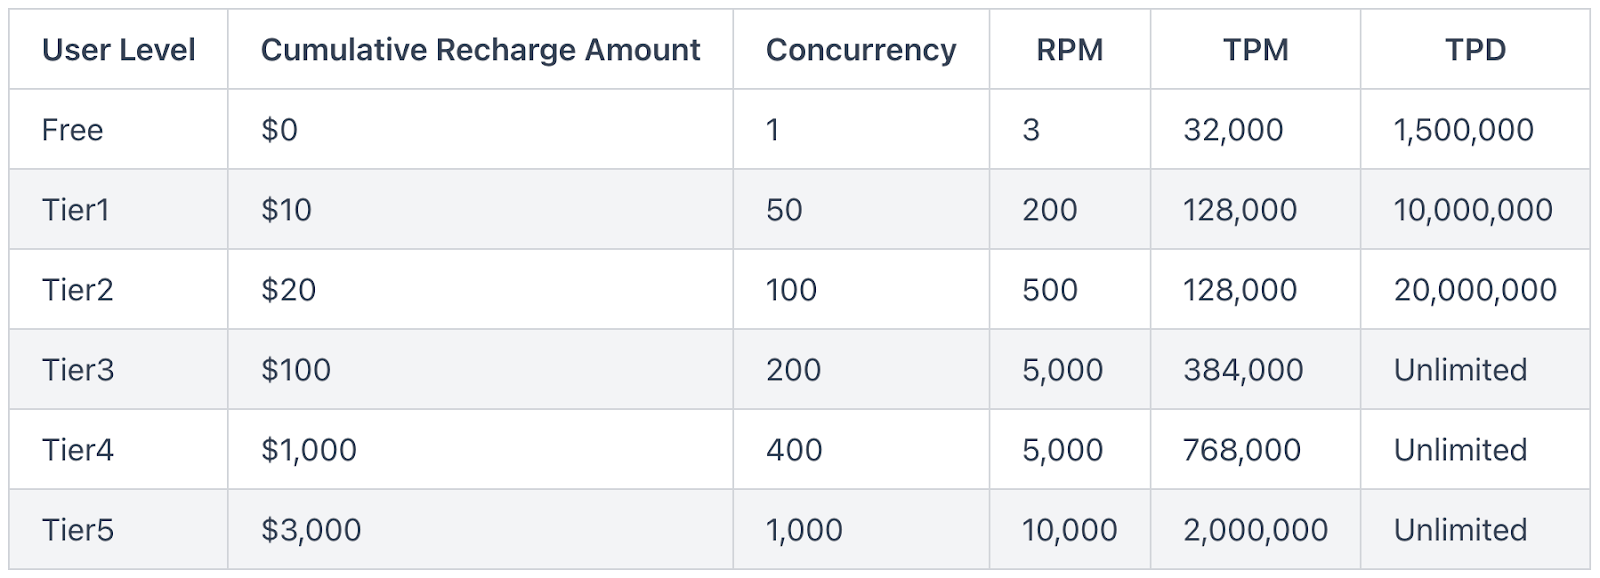
You can also access Kimi K2 through an API endpoint. It’s currently free to use for general queries under the free tier for a certain number of queries before switching to a credit-based tier.
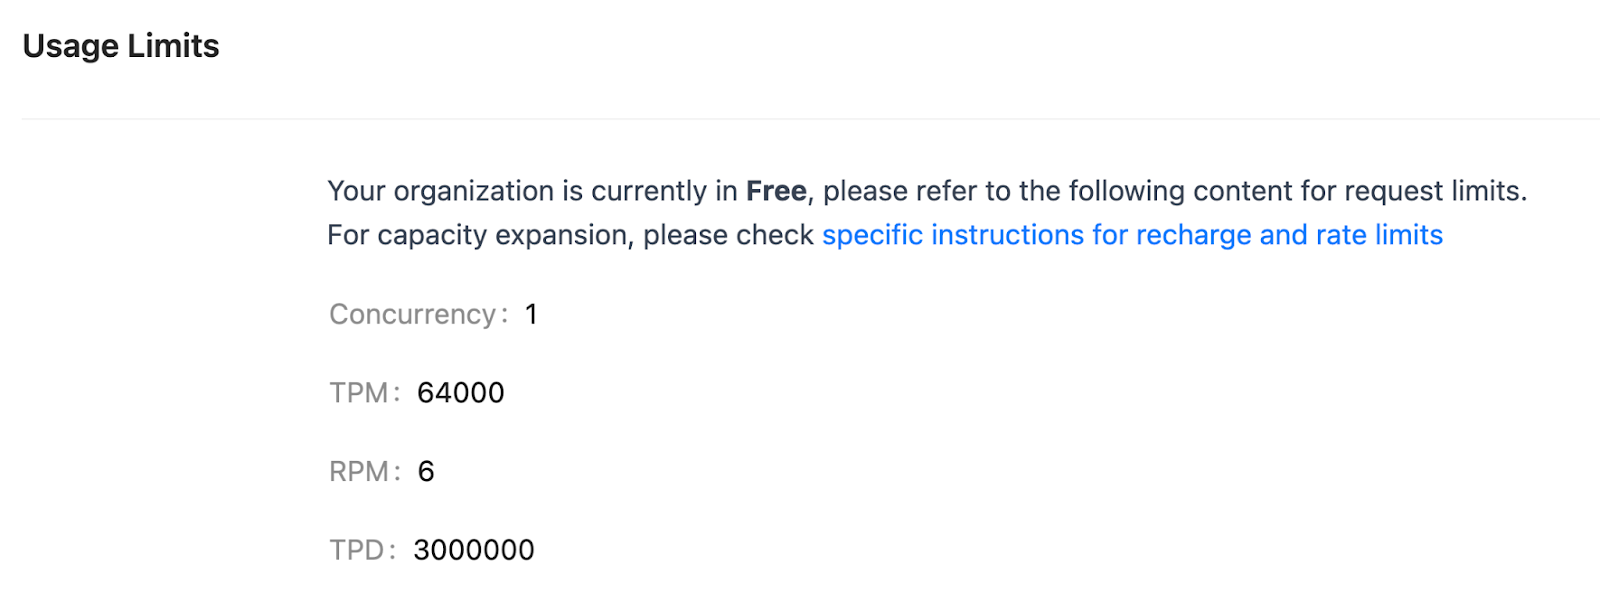
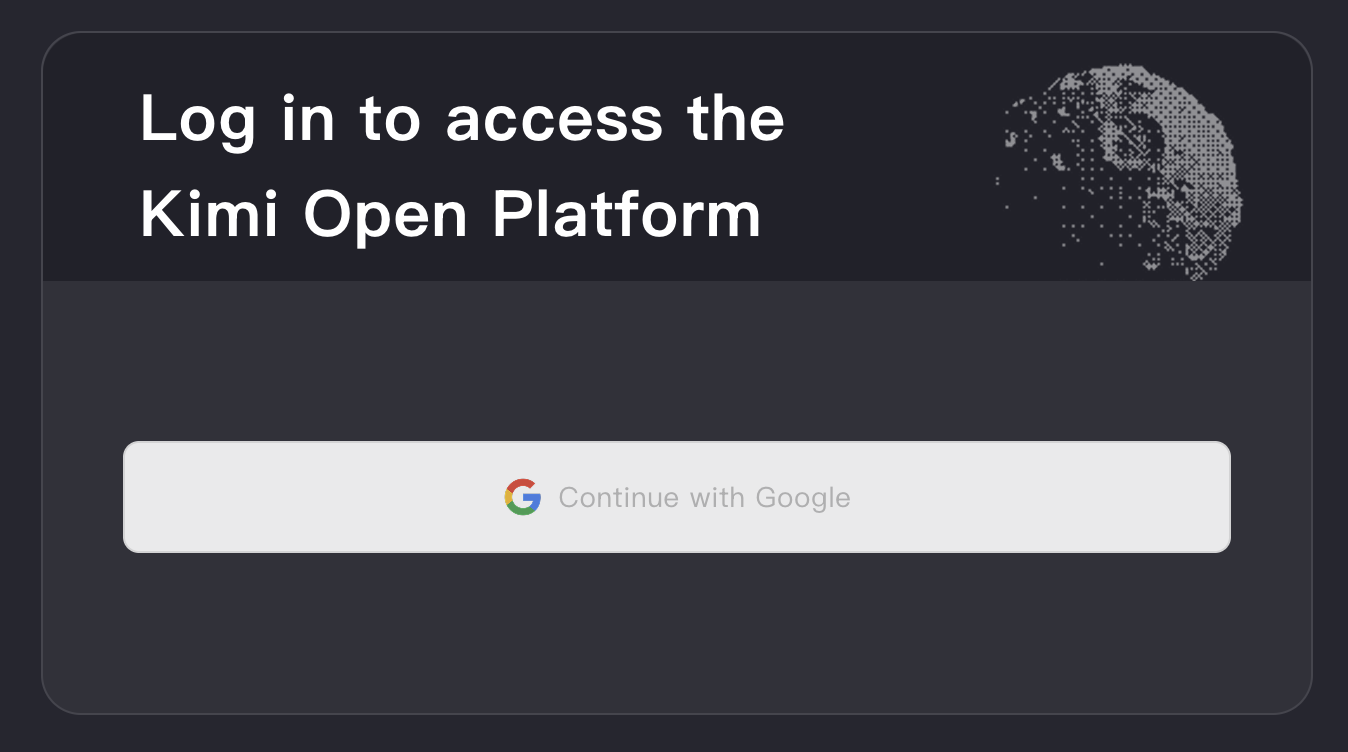
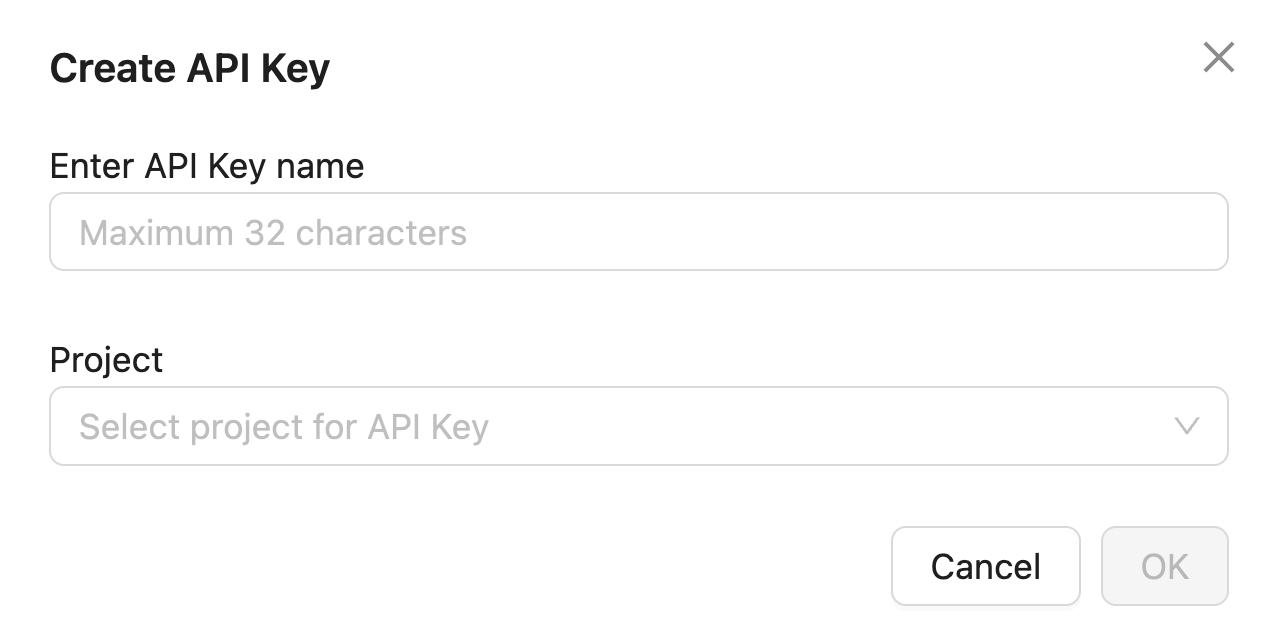
You’ll need an API key, which can be generated from the Moonshot Developer Console. Let’s go through this process step by step.
Here is how to access the Moonshot API to access the Kimi K2 model:
Now, let’s set up an environment for all our local experiments:
conda create -n kimi python=3.10
conda activate kimi
This code creates and activates a Python environment named kimi.
It is recommended to export the API key as an environment variable in your terminal or save it to a .env file. Here is how to save it within your Python environment (kimi in this case):
export MOONSHOT_API_KEY="your_api_key"To verify if the Moonshot API is correctly set as a global variable in your environment, run:
echo $MOONSHOT_API_KEYIf you see the key value when running the above command, you can proceed; otherwise, first set up the key as a global variable. If you are setting up the API key in a .env file, then save it as follows:
MOONSHOT_API_KEY=your_api_keyNow, we are ready to explore the capabilities of Kimi K2.
Now that our API key is set up, let’s try a basic chat completion task with the Kimi K2 model.
from openai import OpenAI
import os
MOONSHOT_API_KEY = os.getenv("MOONSHOT_API_KEY", "your-moonshot-api-key")
client = OpenAI(
    api_key=MOONSHOT_API_KEY,
    base_url="https://api.moonshot.ai/v1"
)
def simple_chat(model_name: str):
    messages = [
        {"role": "system", "content": "You are Kimi, an AI assistant created by Moonshot AI."},
        {"role": "user", "content": "Explain LLM to a 5-year-old."}
    ]
    response = client.chat.completions.create(
        model=model_name,
        messages=messages,
        stream=False,
        temperature=0.6,
        max_tokens=256
    )
    print(response.choices[0].message.content)
simple_chat("kimi-k2-0711-preview")
The above Python script sets up the API client using the provided API key and endpoint. The simple_chat() function sends a predefined prompt to the Kimi model(kimi-k2-0711-preview) using a chat-style format with system and user messages, which then prints the assistant's response.

Kimi K2 took significantly longer (approximately 5 minutes) to generate code compared to other models I’ve recently tried (like Grok 4 or Gemini Diffusion). However, despite this initial delay, the resulting application's graphics and interactive elements were highly accurate. Additionally, Kimi K2 effectively utilized its agentic capabilities to fetch a relevant royalty-free image from Unsplash for the HTML page.
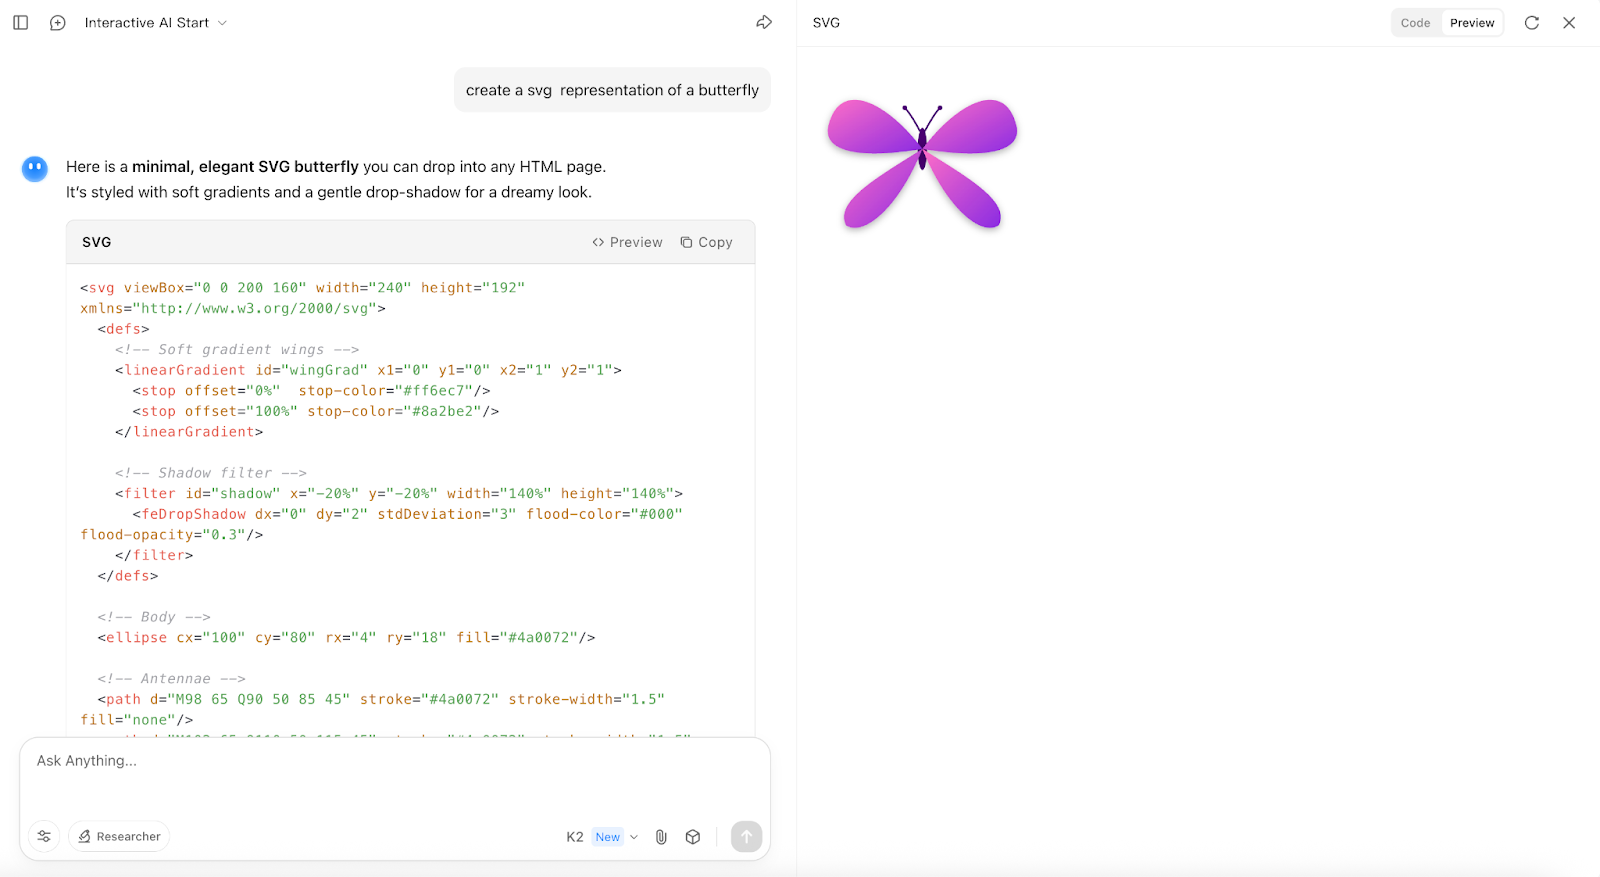
Next, I tried generating a few SVG (Scalable Vector Graphics) representations. Although it took the model some time to return a good SVG image, it ultimately did a good job.
Prompt: Create an SVG representation of a butterfly
Initially, I asked the model to create a representation of a Dragon, and the output was just some shadow and colors. However, after a few iterations, the model generated a good representation of a butterfly.
In this example, I asked Kimi K2 to analyze a simple dataset and present its findings through an HTML dashboard. Here is the prompt I used:
Prompt: Create an interactive HTML dashboard with a smooth and modern UI that allows users to simulate and visualize the effects of remote work on salaries across various job roles, based on the provided ds_salaries.csv dataset.
The dashboard should include the following enhanced components:
1. Dynamic Simulation Controls (User Simulator):
Responsive slider inputs and number fields for adjusting:
Remote premium (%)
Job-profile-specific multipliers
Base salary inflation or deflation
Real-time feedback on how input changes affect the dataset
Tooltips explaining each parameter’s impact
2. Interaction Graphs and Heatmaps:
Salary vs job profile × remote ratio interaction plot
Optional toggles to switch between bar, line, or heatmap views
Highlight outliers or statistically significant interactions
3. Real-Time Statistical Insights:
Live regression output (OLS, ANOVA)
Highlight p-values and significance thresholds
Visual residual plots or model diagnostics (if feasible)
4. Modern Interface Design:
Mobile-friendly, zero-dependency design using vanilla HTML/CSS/JS
Card-style layout, with collapsible sections for clarity
Smooth animations, transitions, and dark/light toggle
Ensure all output is copy-paste ready in a single index.html file, with no external dependencies. Include placeholder logic for loading the CSV via a <input type="file"> element. Bonus: add CSV preview table and download-export options for simulated data.
In this experiment with Kimi K2, the model successfully accepted and processed the uploaded dataset, correctly updating the simulation controls based on variables derived from the data. The user interface supported features like switching between dark and light modes, offering a smooth visual experience.
However, the output lacked several key analytical components. There was no interaction plot, no heatmap visualizations, and no real-time statistical insights such as regression summaries or ANOVA results. While Kimi K2 handled the structural generation and UI logic well, its limitations in statistical reasoning and interactive visualization were evident in this use case.
The team behind Kimi provided a use case for their chat interface to explore scientific simulations and preview their HTML code within the chat interface. Here are the prompts that I tried:
Prompt: Create a 3D Particle Galaxy Simulation
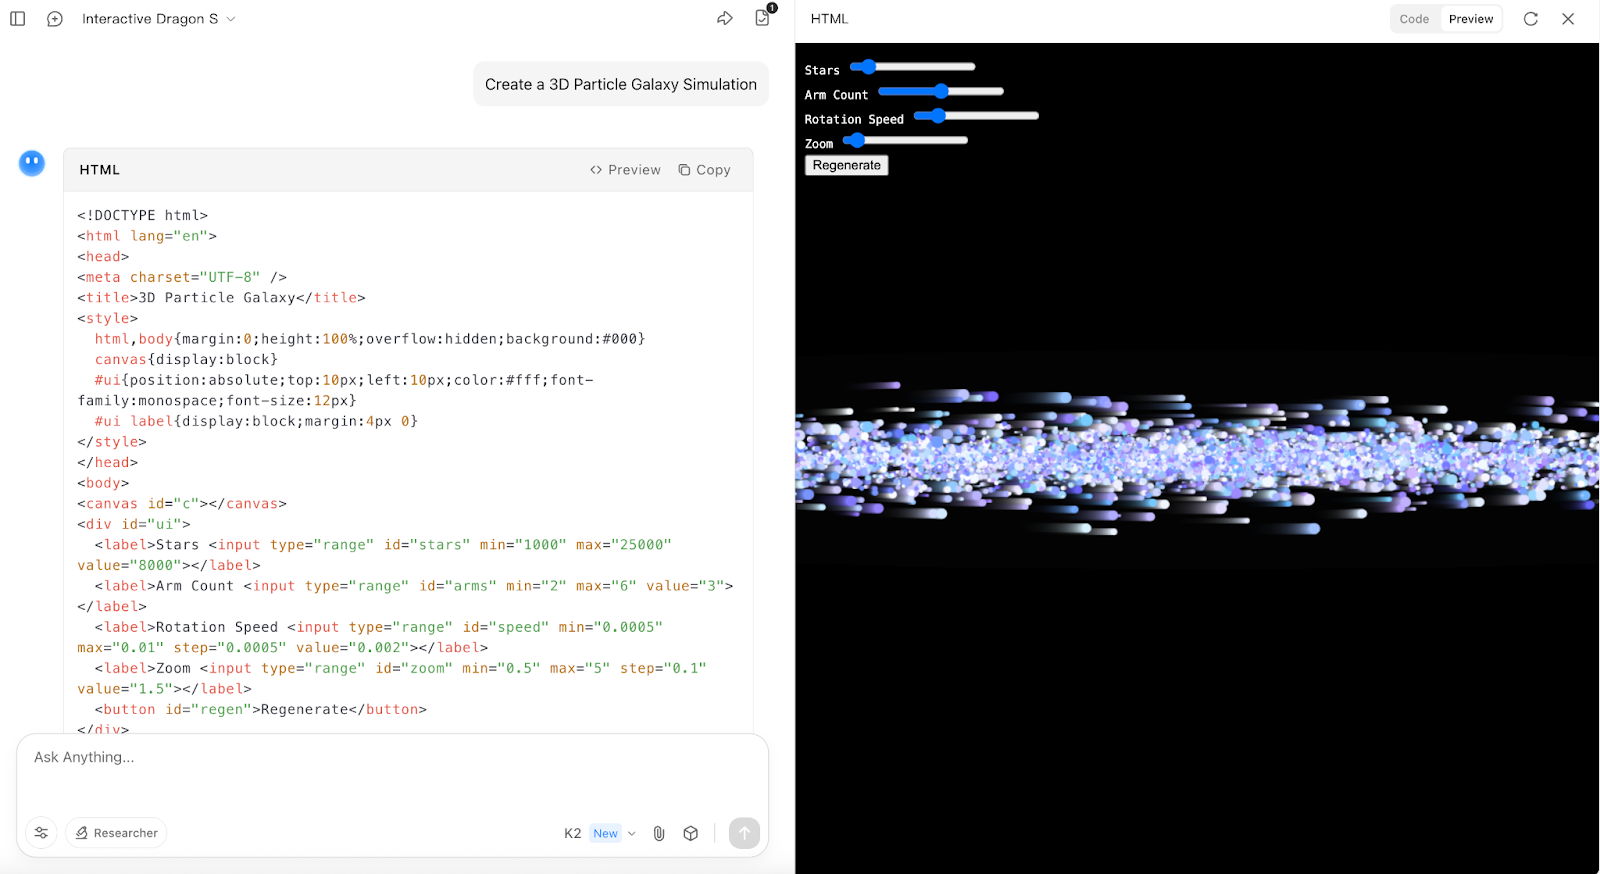
I tried making a few edits to the simulation to see how the model adapts to any modifications, like a top view with proper particle rotation and varying particle size.
Revised Prompt: Modify the current 3D Particle Galaxy Simulation to render the galaxy from a top-down perspective (as seen from above the galactic plane). The stars and arms should appear as a spiral pattern radiating outward, with rotation happening around the Z-axis (perpendicular to the screen). Ensure that:
The star positions are distributed in a flat spiral from the top view
Rotation speed affects angular rotation within the XY plane
No vertical tilt or Y-axis thickness is shown—flatten the Z-dimension
Camera/viewpoint is fixed above the galaxy (orthographic or top-down perspective)
Optionally add a central glowing bulge to simulate the galactic core
Keep all existing controls (star count, arm count, zoom, rotation speed), and make sure regeneration reflects the top-view layout.
Learn AI with these courses!
Course
Course
Course
Tutorial
Aashi Dutt
Tutorial
Bex Tuychiev
Tutorial
Abid Ali Awan
Tutorial
Bex Tuychiev
Tutorial
Marie Fayard
Tutorial
François Aubry